How to Install Christmas Roof Lights Like a Pro With Cut‑to‑Length Socket Wire
Why Pros Use Cut-To-Length Socket Wire
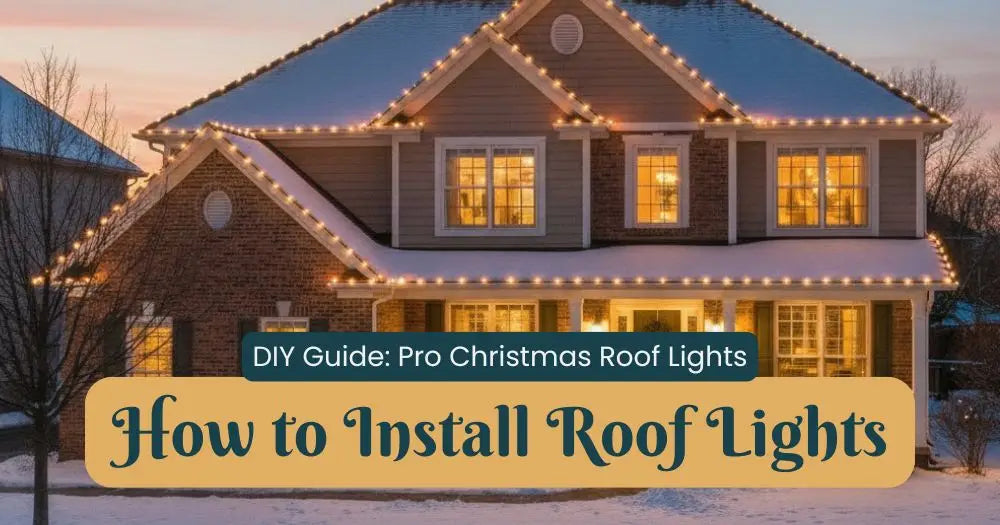
Look at a professionally lit roofline and you'll notice two things: the bulbs stop exactly at the corner, and there's no tail of dark cord dangling past the last peak. That's because installers don't use pre-made light sets. They run C9 socket wire off a spool, cut it to the exact length of each roof section, and add a plug where they want it. The result fits the house instead of the house fitting the string.
It's less intimidating than it sounds. Here's the whole process, start to finish.
What You'll Need
C9 socket wire on a spool (12-inch spacing is the standard roofline look), C9 ProCore® LED bulbs, slide-on vampire plugs (male for the start of each run, female if you'll daisy-chain), all-application clips (one per socket), termination caps for the cut end, socket covers for any socket you leave empty, an outdoor timer, wire cutters, and a tape measure. If you'd rather have it all picked for you, a roofline bundle sized to your footage covers every piece in this list.
Step 1: Measure Every Straight Run
Walk the house and measure each roofline segment separately: front eave, each gable side, garage, porch. Write them down. Add 12 to 18 inches per segment for the plug end and a little slack around corners. Total the segments and that's your socket wire order. Divide by 12 inches for the bulb count, then add a handful of spares.
Mark where the power is. Every run has to start at a plug or at the end of the previous run, so decide now which sections chain together and which get their own cord.
Step 2: Cut And Plug On The Ground
Unroll the spool along the driveway and cut the first segment to length. Slide a male vampire plug onto the starting end: open the plug, lay the wire in the channel with the ribbed (neutral) side matched to the wide blade, close it, and the internal pins bite through the insulation. No stripping, no screws. Cap the far end with a termination cap so the bare cut is sealed. Repeat for each segment.
Screw in the bulbs while the line is on the ground. Plug it in for ten seconds to confirm every socket lights. It's far easier to swap a dud bulb at knee height than on a ladder.
Step 3: Clip Every Socket
Snap an all-application clip onto each socket before you climb. Then work along the gutter or shingle edge, clipping sockets one after another so every bulb points the same direction. Straight up or straight out both look right; a mix of angles is what makes a roofline look homemade. Start at the power end so you're never short at the plug.
At corners, let the wire wrap around the inside of the corner clip and keep going. Because you cut each segment to fit, the last bulb lands where the roof ends.
Step 4: Power And Weatherproofing
Bring the plug down to the outlet along a downspout or corner trim. Seal every plug-to-plug connection with a weatherproof gasket and keep connections off the ground. Plug the whole display into a photocell timer so it comes on at dusk and off when you choose. Keep total load per circuit within the limits printed on your wire and plugs; LED C9s draw very little, so a single 15-amp circuit handles a typical home with room to spare.
Worked Example: A 68-Foot One-Story Roofline
Front eave 40 feet, two 14-foot gable returns. Cut three segments: 41 feet, 15 feet, 15 feet. Three male plugs, three termination caps, 68 bulbs plus five spares, 70 clips. Two outlets on the front of the house means the eave runs from one and both gables chain from the other. Total install time for two people: about 90 minutes, with most of it on the ground.
Quick Fixes
One bulb out: swap it — LED C9s are individually replaceable. Whole run dark: reseat the vampire plug; the pins may not have bitten through both conductors. Run works on the ground, dies on the roof: a connection pulled apart at a corner. Bulbs look uneven: re-aim the clips, not the bulbs.
Takedown And Storage
Unclip from the far end back to the plug, coiling the line as you go with bulbs and clips still attached. Label each coil by segment ("front eave", "left gable") and it goes back up next year in a fraction of the time. Store in a dry bin, not a bag.
Frequently Asked Questions
Why C9 on the roofline instead of a mini-light string?
Scale. From the street, a C9 bulb every 12 inches reads as a crisp outline. Small lens styles like 5mm and M5 blur into a fuzzy glow at roof height and are meant for trees, shrubs, and railings, not rooflines.
Can I leave empty sockets?
Yes, but cover them. A socket cover keeps water out of any socket without a bulb.
How long does professional-grade socket wire last?
It's built for many seasons of outdoor use, and our lights and bulbs are backed by the Reindeer Proof™ Warranty.
Build Your Own Roofline
Start with a roofline bundle sized to your footage, or piece it together from C9 ProCore® bulbs and socket wire. Professional-grade, cut to fit, backed by our Reindeer Proof™ Warranty.
Shop the Lights in This Guide
Browse our full range of Roofline Christmas Lights — every set is backed by our Reindeer Proof™ Warranty.