How to Wire Christmas Lights Safely and Easily
The Science Behind Beautiful Christmas Light Displays
From the soft glow of traditional incandescent bulbs to the vibrant hues of modern LEDs, Christmas lights have come a long way. This evolution not only changes the aesthetic of your display but also affects how you approach the wiring. Understanding these differences is key to creating a stunning and safe display. For those eager to dive deeper, check out this helpful resource: How to master Christmas Lighting
Incandescent vs. LED: A Tale of Two Bulbs
Incandescent bulbs, the classic choice, create light by heating a filament. This produces a warm, yellowish glow, but also generates a lot of heat. This heat makes them less energy-efficient and a potential fire hazard if not used carefully. Incandescent bulbs also have a shorter lifespan.
LEDs (Light Emitting Diodes), on the other hand, work differently. They produce light by passing an electric current through a semiconductor material. This generates very little heat, leading to significantly lower energy consumption and a much longer lifespan. LEDs also stay cooler to the touch, reducing the risk of burns. Plus, they come in a wider spectrum of vibrant colors and are more durable.
Series vs. Parallel Wiring: Powering Your Display
How your lights are wired—in series or parallel—also impacts your display. In a series circuit, the bulbs connect end-to-end in a single loop. If one bulb burns out, the whole strand goes dark. The brightness of each bulb also decreases as you add more bulbs.
With parallel wiring, each bulb has its own connection to the power source. This means that if one bulb goes out, the rest stay lit. Parallel wiring also maintains consistent brightness, no matter how many bulbs you use.
The demand for elaborate and technologically advanced Christmas light displays is growing. The global Christmas lights and decorations market, valued at about USD 8.1 billion in 2023, is expected to reach USD 10.87 billion by 2031. This represents a CAGR of 4.13%. This growth is driven by factors like increasing disposable incomes and advancements in lighting technology, such as energy-efficient LEDs and smart lighting controlled by mobile apps. For more detailed market statistics, see this report. This market growth highlights the importance of understanding how to correctly wire Christmas lights, both for safety and visual impact.
Wiring Christmas Lights Safely: Non-Negotiable Precautions
Connecting your Christmas lights might seem simple, but a safe and dazzling display requires careful attention to detail. These tips, borrowed from professional installers, distinguish a stunning spectacle from a potential hazard.
Calculating Load Requirements: Preventing Blackouts
Before illuminating your home, calculate your circuit's maximum load. This prevents overloads, tripped breakers, and a sudden plunge into darkness. Every strand of lights has a wattage rating. Add the wattage of all strands on a single circuit. Next, check your circuit breaker's amperage (typically 15 or 20 amps). Use this formula to stay within safe limits: Watts = Volts x Amps. For a 15-amp circuit at 120 volts, the maximum safe wattage is 1800 watts.
GFCI Protection: Essential for Safety
Ground Fault Circuit Interrupters (GFCIs) are crucial, particularly outdoors. They detect electrical imbalances, quickly cutting power to prevent dangerous shocks. GFCI outlets have "Test" and "Reset" buttons. Ensure all outdoor outlets have GFCI protection. This is vital for safety, especially in wet conditions.
Securing Connections: Weatherproofing Is Key
Moisture is a significant threat to electrical connections. Exposed wires can cause shorts and even fires. Use waterproof electrical tape and silicone sealant to protect connections, especially outside. Secure connections tightly to prevent water damage. Consider using weatherproof connection covers, available at most hardware stores, for added protection. This extra step safeguards your display against the elements.
Routing Wires Safely: Eliminating Trip Hazards
Proper wire routing is essential for both appearance and safety. Loose wires create trip hazards and diminish your display's beauty. Use cable clips or staples designed for low-voltage wiring to secure wires along walls, eaves, and railings. Never staple directly through wires, as this damages the insulation, likely causing your GFCI to trip, and even becoming a fire hazard. A neat and organized setup looks professional and prioritizes safety.
Before you begin, review this checklist to ensure your setup is safe and sound.
Christmas Light Safety Checklist Essential safety practices when wiring and installing Christmas lights
| Safety Precaution | Why It's Important | Implementation Tips |
|---|---|---|
| Calculate Circuit Load | Prevents overloads and tripped breakers | Add up wattage of all connected strands and ensure it's below the circuit's maximum (Watts = Volts x Amps) |
| Use GFCIs | Prevents electrical shocks, especially in damp conditions | Ensure outdoor outlets are GFCI protected |
| Weatherproof Connections | Protects against shorts and fires caused by moisture | Use waterproof tape, sealant, and consider weatherproof covers |
| Secure Wire Routing | Prevents trip hazards and enhances the display's appearance | Use cable clips or staples designed for low-voltage wiring; avoid stapling through wires |
This checklist provides a solid foundation for a safe and beautiful Christmas light display. By following these precautions, you can enjoy the festive glow without worry.
For further guidance on installation, you can explore resources like How to master Christmas light installation.
Mapping Your Masterpiece: Strategic Light Placement
Professional Christmas light displays are more than just strings of bulbs; they're carefully planned works of art. Just like an artist approaches a canvas, you need a strategy to maximize the impact of your holiday lights. This means assessing your property, pinpointing key areas, and understanding how to wire everything effectively.
Assessing Your Canvas: Property and Focal Points
Start by looking at your home's architecture. What lines and features can you highlight? Gables, windows, doorways, and rooflines are all great starting points. For a classic look, outline your roofline with lights.
Landscaping also plays a role. Trees and shrubs can become stunning focal points with well-placed lights.
Sketching Your Vision: Planning for Success
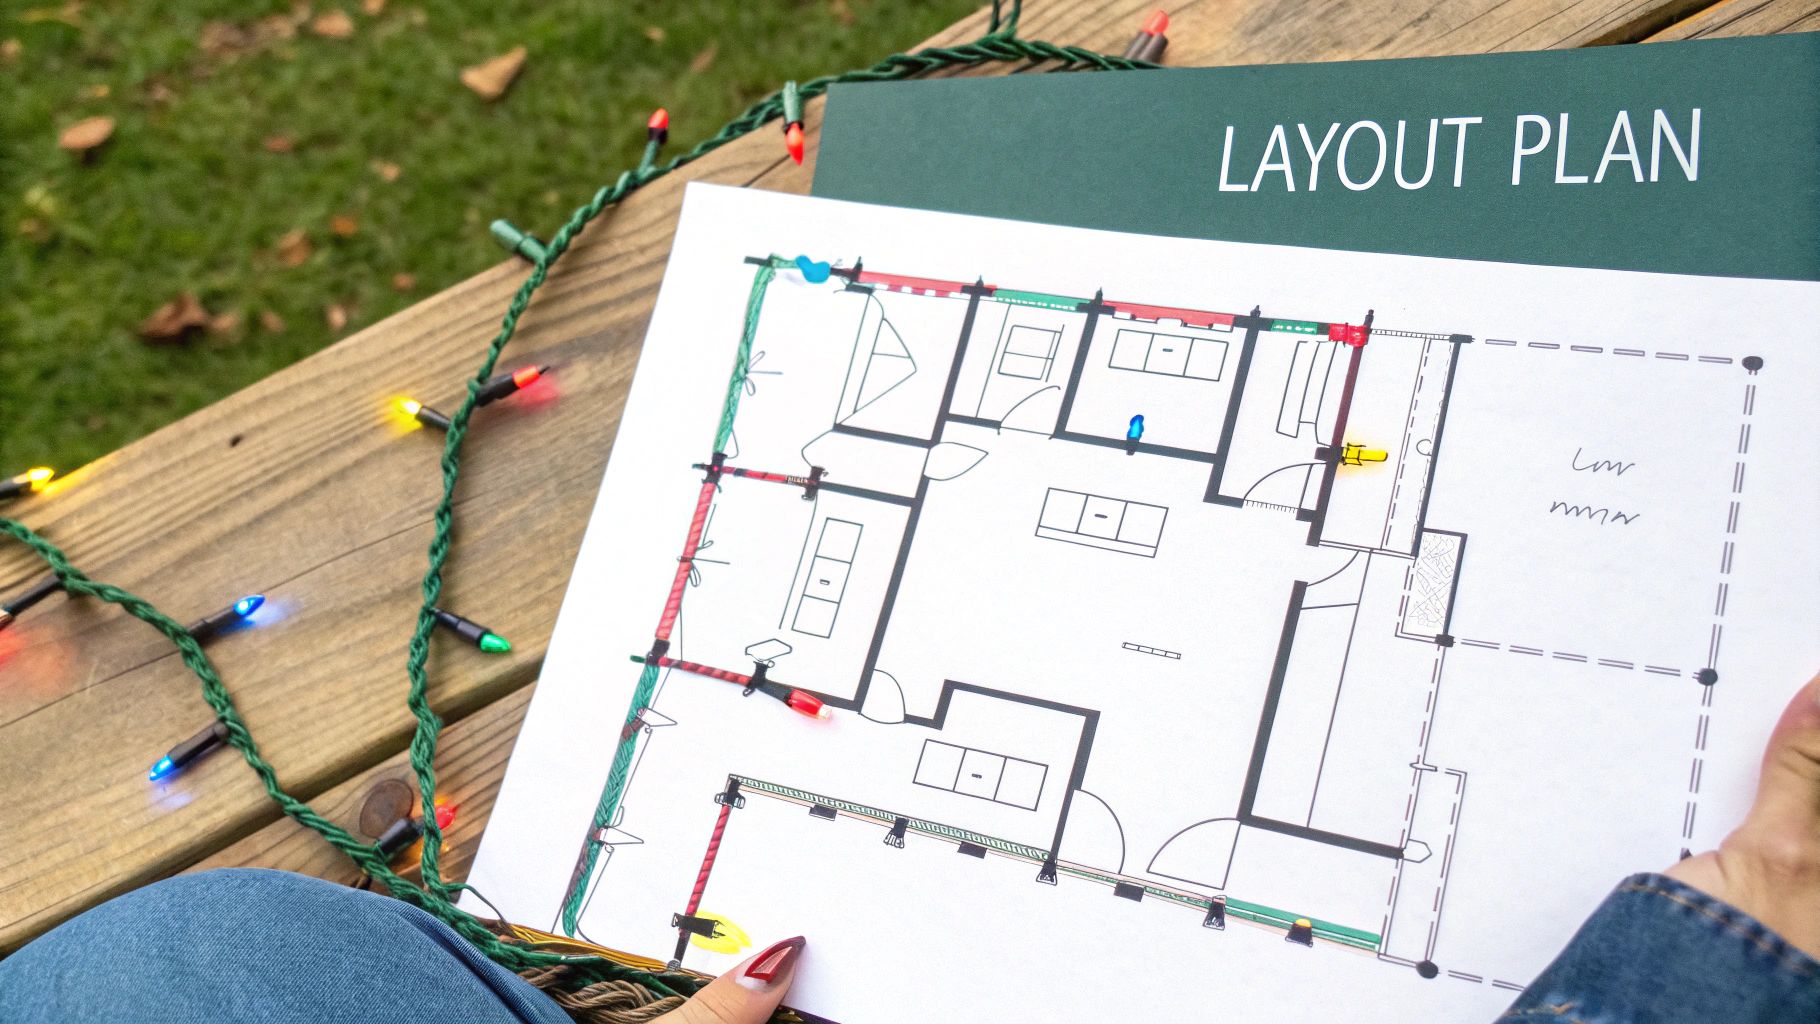
After identifying your focal points, sketch your lighting plan. It doesn't have to be a professional blueprint, a simple sketch helps visualize the final result. This is a good time to plan wiring routes, keeping them hidden and efficient. Mapping connection points minimizes visible wires for a professional look. Learn more in our article about How to master Christmas lighting and decor. Pre-planning helps accurately calculate the length of lights and power needs for each section.
Calculating Power Needs and Mapping Connections
Understanding your power needs is vital to avoid overloaded circuits. Calculate the wattage of each light strand and add them up. Compare this total to your circuit’s capacity to stay within safe limits.
Next, map out where each strand connects to the power source, minimizing visible wiring. Strategic placement of extension cords and splitters is key.
Light Density and Visual Depth: The Professional Touch
Varying light density creates visual depth. More lights around a focal point, like a doorway, draw the eye and add dimension. Fewer lights in less prominent areas create balance. This contrast enhances the overall visual impact, transforming an ordinary house into a festive showpiece.
Planning for the Future: Scalability and Maintenance
Think about future expansion when designing your display. Leave room to add more lights or change the design later. This saves you from a complete reinstallation every year.
Also, plan easy access points for maintenance. This allows for simple bulb replacements or troubleshooting without taking down large sections of your display. With careful planning, your Christmas light display can bring joy for years to come.
Indoor Wiring Brilliance: Beyond Basic Christmas Trees

Moving beyond the Christmas tree, let's explore how to wire Christmas lights to transform your entire home into a festive wonderland. With a few simple techniques, you can create cohesive indoor displays that add warmth and magic to every room.
Concealing Wires: The Art of the Invisible
One of the secrets to a polished look is hiding those unsightly wires. Try running wires along baseboards, crown molding, or door frames.
Use clear adhesive clips or tacks to secure them discreetly. Command Brand offers a variety of damage-free hanging solutions. You can also consider using wire concealers that blend seamlessly with your walls. This keeps the focus on the twinkling lights, not the wiring behind them.
Creating Ambiance: Beyond the Twinkle
Think beyond just stringing lights. Incorporate other lighting elements to enhance the mood.
Use uplighting to wash walls in warm colors, or strategically place candles to create a cozy glow. This adds depth and dimension to your display, transforming ordinary rooms into inviting spaces.
Managing Multiple Strands: Power Distribution
Managing multiple strands of lights requires planning to avoid unsightly wire clusters and overloaded outlets.
Power strips with multiple outlets and surge protection are a great solution. However, always be mindful of the total wattage of the connected lights to avoid exceeding the circuit’s capacity. Strategically placed extension cords, run along walls or under furniture, can also help reach distant areas safely and effectively.
Integrating Smart Home Systems: Automated Holiday Cheer
Integrating your Christmas lights with a smart home system like those from Amazon or Google brings your display to the next level. This allows you to control lights remotely, set timers, and even create synchronized light shows.
Many modern LED Christmas lights are compatible with these platforms. This adds modern convenience to your holiday traditions. The growing popularity of smart lighting is also influencing the Christmas lighting market. You can find more detailed statistics at Market Data Forecast. Industry analysis shows the Christmas lighting segment holds a substantial share of the global decorations market, forecasted to grow steadily through 2032. This growth is fueled by LED technology and the rising demand for smart, customizable lighting.
Pre-lit artificial trees, which eliminate much of the manual wiring, have become increasingly popular. This segment is expected to reach multi-billion dollar valuations. In major markets like North America and Europe, over 70% of new Christmas light purchases now involve LEDs. LEDs have different wiring considerations than traditional incandescent bulbs, such as lower voltage and higher strand compatibility. This shift has also improved safety, with modern LED Christmas lights featuring built-in fuses and energy-efficient transformers.
Securing Connections in High-Traffic Areas: Child and Pet Proofing
If you have children or pets, securing your wiring is crucial. Use cable ties or tape to keep wires out of reach and prevent tripping hazards.
Cover exposed wires with protective tubing to prevent chewing or tampering. These precautions ensure your festive display is both beautiful and safe. By following these techniques, you can create stunning indoor displays that add a touch of magic to your holiday season.
Outdoor Wiring Secrets the Pros Don't Share
Creating a dazzling outdoor Christmas light display that can withstand winter's chill involves more than simply stringing lights together. It requires careful planning, specialized techniques, and knowing how to wire Christmas lights correctly for outdoor use. Let's explore the secrets professionals use to craft stunning, weather-resistant displays.
Powering Distant Elements: Ditch the Extension Cords
Running power to far-off trees or rooftop decorations often means dealing with messy extension cords. Professionals avoid this eyesore by strategically placing outdoor-rated power outlets. This requires planning your display layout ahead of time and thinking about where you’ll need power. For more complex setups, consider consulting a licensed electrician to install additional weatherproof outlets. This creates a clean, professional look without the tangle of extension cords.
Waterproofing Connections: Surviving the Elements
Protecting electrical connections from moisture is critical for outdoor displays. Instead of relying only on electrical tape, professionals use weatherproof silicone sealant or heat-shrink tubing for a watertight seal around connections. This added protection prevents shorts and ensures your display shines brightly through rain or snow. For even more safety, consider using weatherproof connection covers, which are easy to find at any hardware store.
Securing Wires Against Winter Winds: Anchoring Techniques
Winter winds can easily damage loosely hung lights. Professionals use specific anchoring techniques to secure wires against the elements. On smooth surfaces like siding or gutters, adhesive clips designed for outdoor use provide a strong hold without damage. For rougher textures like brick or stucco, brick clips or zip ties coupled with small masonry nails offer a secure anchor. This prevents lights from swaying or detaching in strong winds, maintaining a consistent and attractive display.
Illuminating Trees Without Damage: Protecting Your Landscape
When wrapping trees with lights, avoid tightly wrapping strands directly around the bark, as this can harm the tree. Professionals use specialized tree wraps or widely spaced clips to secure lights without constricting branches. These methods allow the tree to breathe and grow unimpeded while still showcasing the festive lights.
Managing Multi-Zone Displays: Organized Wiring is Key
Complex displays with multiple zones or synchronized elements need organized wiring. Pros use labeled junction boxes or weatherproof connectors to manage multiple strands and control different display sections. This organized approach simplifies troubleshooting and allows for easier modifications or future expansion.
Outdoor Christmas Light Wiring Comparison
| Wiring Method | Best Used For | Pros | Cons | Weather Resistance |
|---|---|---|---|---|
| Series | Simple light strands | Easy to set up | Entire strand fails if one bulb goes out; brightness diminishes with more bulbs | Dependent on bulb and socket quality |
| Parallel | Complex displays, consistent brightness | Individual bulb failure doesn't affect the rest; consistent brightness | More complex wiring | Dependent on connection quality and waterproofing |
| Series-Parallel | Balancing simplicity and fault tolerance | Combines some benefits of both series and parallel | Moderately complex wiring | Dependent on connection and bulb quality |
As you can see, while series circuits are simple, they have drawbacks. Parallel circuits offer consistent brightness and isolated outages, but the wiring is more complex. Series-parallel offers a compromise. By understanding these wiring methods and using the professional tips discussed, you can create a stunning and long-lasting outdoor Christmas light display.
Troubleshooting Like a Pro: Fixing Christmas Light Wiring Issues

A dazzling Christmas light display can quickly become a source of frustration when things go wrong. This troubleshooting guide, drawing on advice from professional installers, offers a step-by-step approach to identifying and resolving common wiring problems. This means less time wrestling with tangled wires and more time enjoying the festive atmosphere. When wiring outdoor Christmas lights, remember to protect your investment. Certain delicate finishes require extra care. If you're decorating surfaces with special needs, like a matte finish, research the best practices to avoid potential issues.
Isolating the Problem: A Systematic Approach
Before dismantling your entire display, pause and take a breath. A systematic approach will save you time and prevent unnecessary stress. Begin by checking the simplest things: the power source and the fuse. Is the outlet functioning correctly? Has the fuse in your light string, if it has one, blown? If these check out, proceed to examine individual connections, looking for anything loose or damaged.
Diagnosing Common Scenarios: Step-by-Step Solutions
-
Partial Outages: If only a portion of your lights are out, the issue is likely confined to that section. Carefully examine the connections within the affected area. Often, the problem is a loose bulb or a damaged wire. For further guidance on Christmas lighting, consider this resource: How to master Christmas lighting and decor
-
Complete Outages: If your entire display is dark, the problem likely originates with the main power supply, the fuse, or the controller (if applicable). Confirm that the outlet is live and the circuit breaker hasn't tripped. If these are functioning properly, inspect the fuse and controller.
-
Controller Malfunctions: If your special effects controller is acting up, try resetting it according to the manufacturer's instructions. If the issue persists, the controller might need replacing.
Using Simple Tools: The Professional's Toolkit
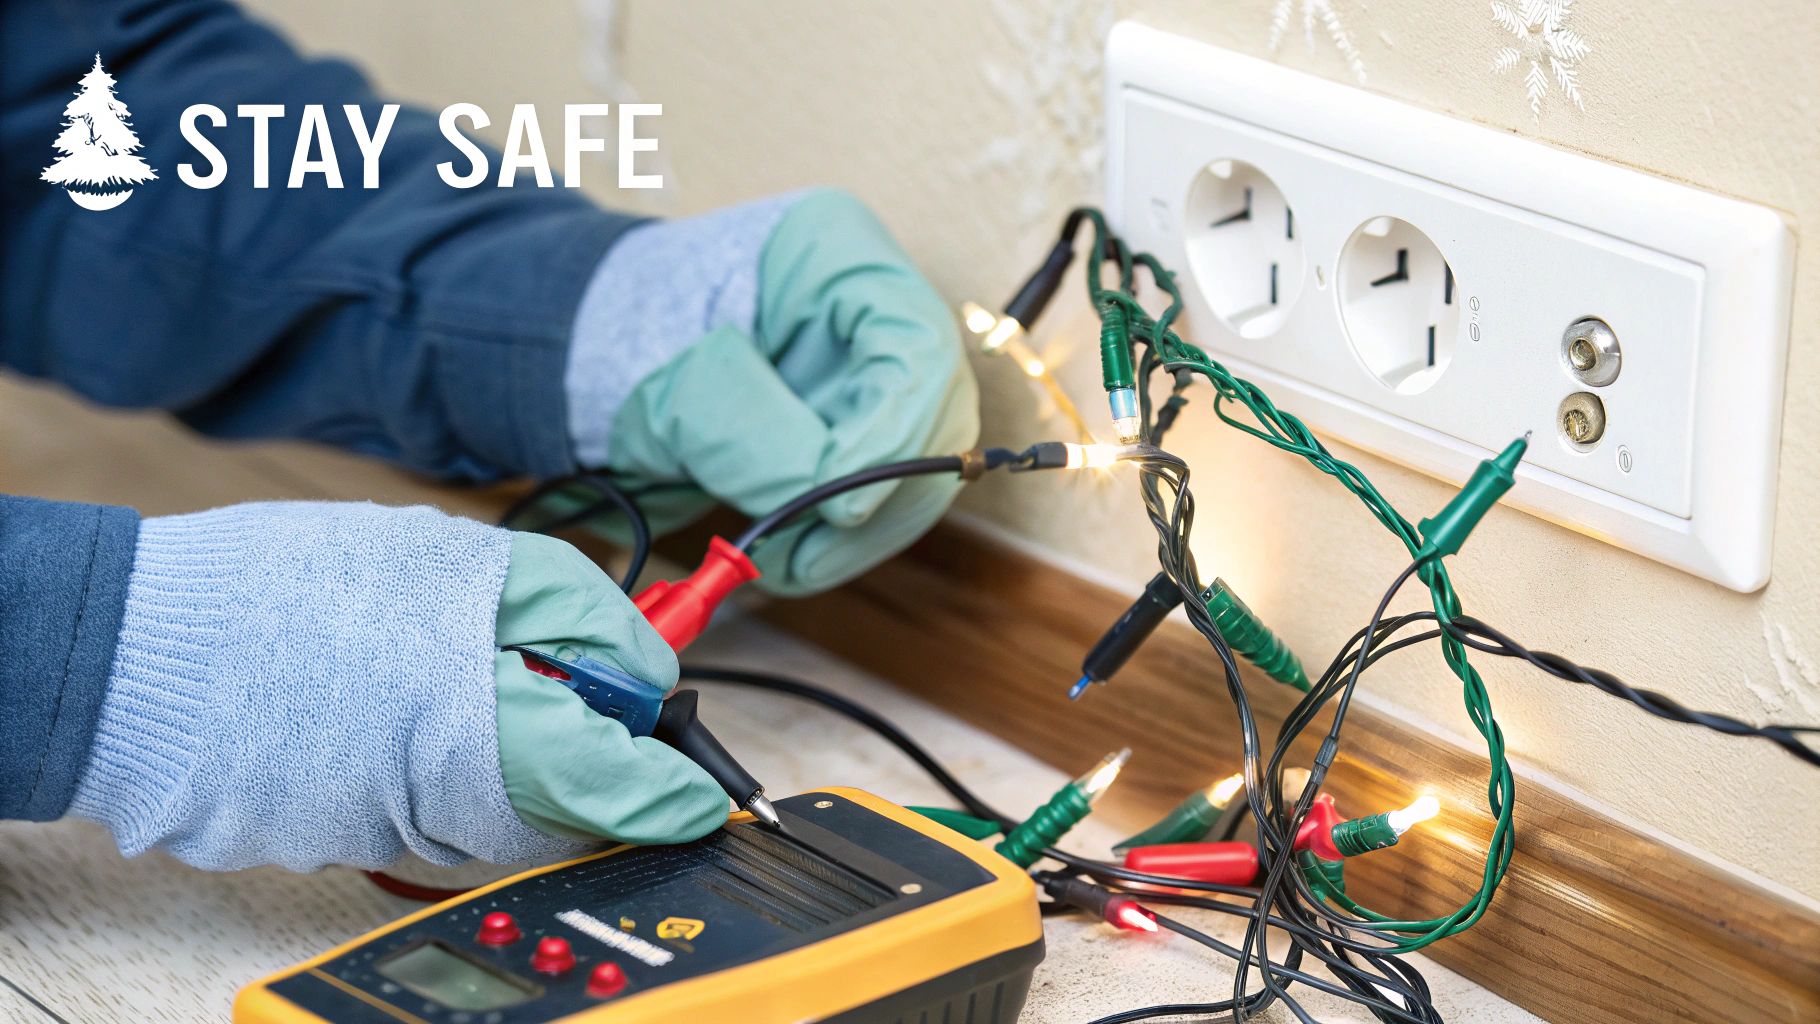
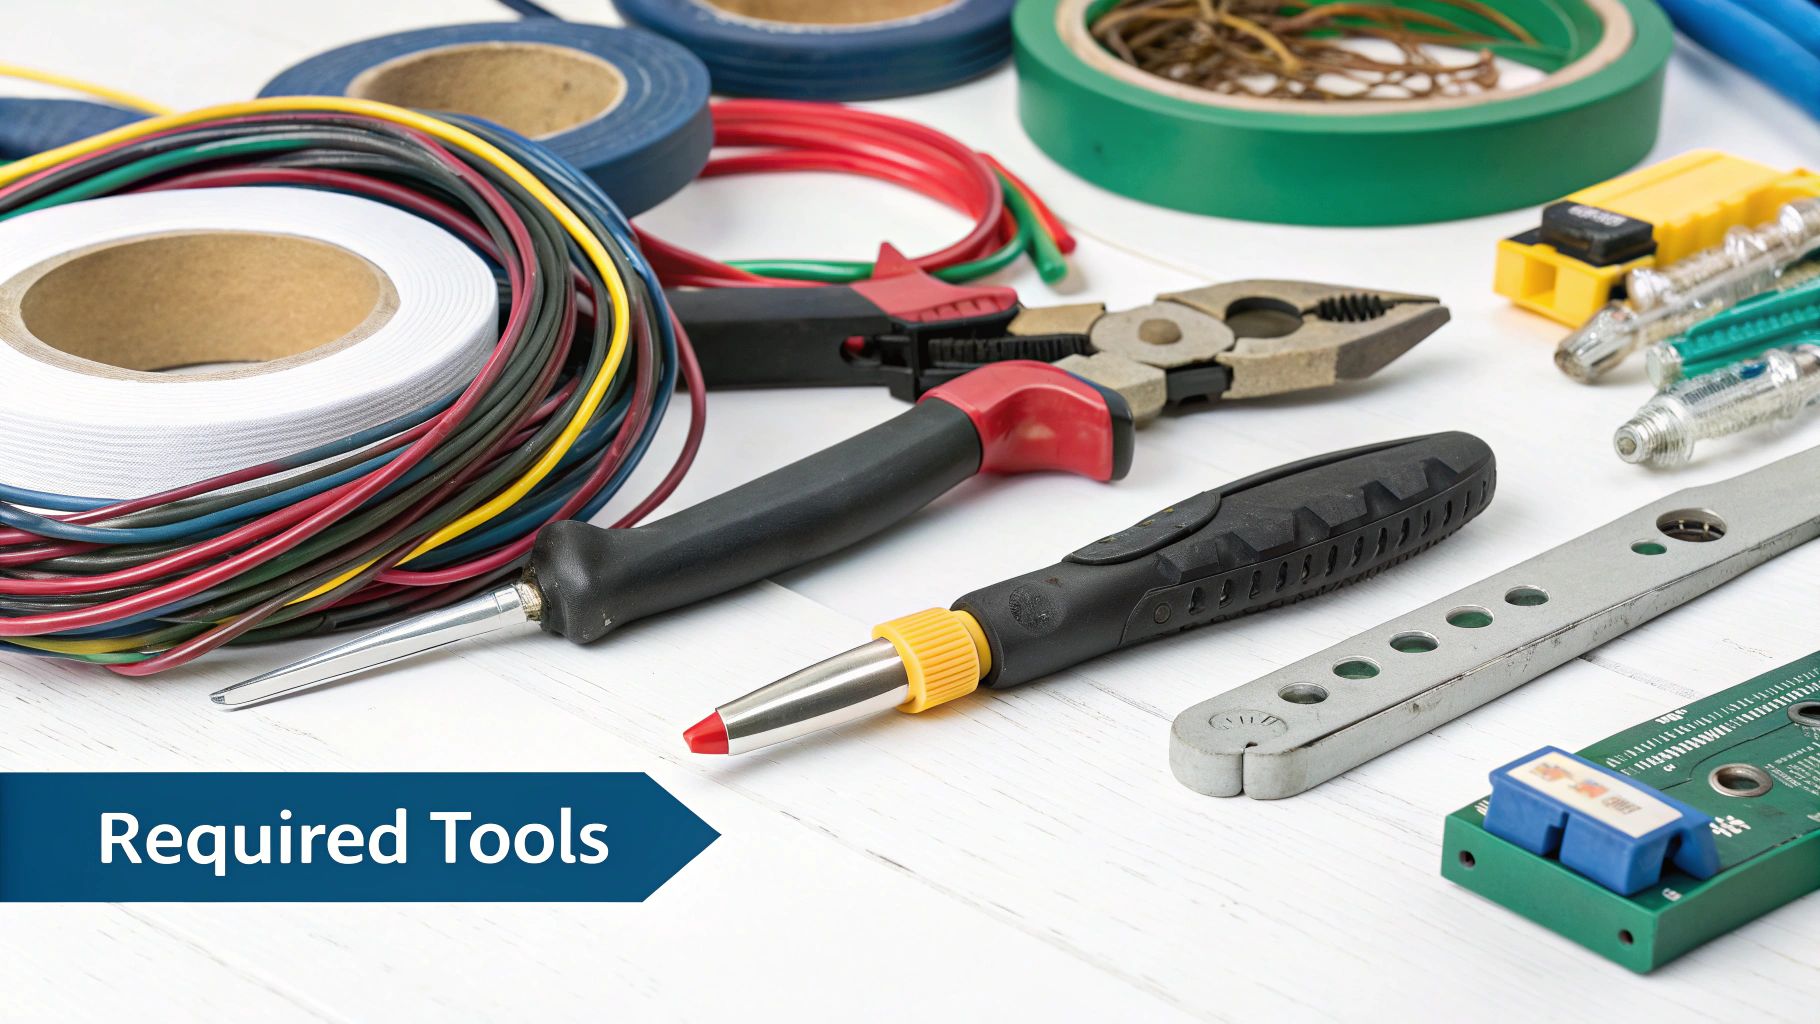
Professionals often use basic tools to diagnose problems quickly. A multimeter can test voltage and continuity, pinpointing faulty wiring or connections. A bulb tester can quickly identify burned-out bulbs. These affordable tools are invaluable for identifying issues without taking apart large sections of your display. If you're using LED light strings, checkout the LED Keeper Pro - an easy way to fix most problems withLED Christmas light strings.
 Weatherproofing Repairs: Making Fixes Last
When making repairs outdoors, weatherproofing is crucial. Employ waterproof electrical tape and silicone sealant to shield connections from moisture. Using weatherproof connection covers provides an extra layer of protection, preventing recurring problems and ensuring your handiwork endures throughout the season.
Diagnosing Timer Issues: Ensuring Proper Function
If your lights aren’t activating on schedule, the timer may be the culprit. Verify the timer’s settings and ensure the batteries are fresh. Manually trigger the timer to test its functionality. If the issue remains, you may need a new timer.
DIY vs. Professional Intervention: Knowing Your Limits
While many Christmas light wiring issues are solvable with some DIY know-how, it’s important to recognize your limitations. If you encounter complex electrical problems or feel uncomfortable working with electricity, it's always best to contact a qualified electrician. Safety should be your top priority.
Ready to create a spectacular Christmas display? Visit The Christmas Light Emporium for premium lighting and décor, expert advice, and all the supplies you need to make your vision a reality!


